Super Credit Fix Logo - Financial Freedom Simplified Start
← Back to Diagnostic Hub

The **7-Step Credit Report** Investigation Checklist

Lenders don't look at one score; they look at the reports behind it. Here’s how to pull your files and conduct a professional, deep analysis to find the errors you can dispute.

Understanding the Big Three

In the U.S., Equifax, Experian, and TransUnion track your borrowing and repayment habits. They get updates from banks, lenders, and collection agencies. However, not every lender reports to all three bureaus, and they don’t report at the same time. This is why your reports (and scores) probably look alike but are not exactly the same. You need to check all three to get the full picture.

How to Get Your Three Credit Bureau Reports

You can’t tackle your credit if you haven’t seen your credit reports. Start here by pulling your data through our recommended tool:

The Recommended Option: Ongoing Credit Monitoring

If you want more than a once-a-year check, or prefer your reports and **multiple FICO scores** in one simple dashboard, premium monitoring tools are essential. You get real-time alerts when something changes, taking the guesswork out of repair.

Check All 3 Reports & FICO Scores Now →

You need all three reports (Equifax, Experian, and TransUnion) to find all possible errors.

Image showing Equifax, Experian, and TransUnion reports lined up for comparison

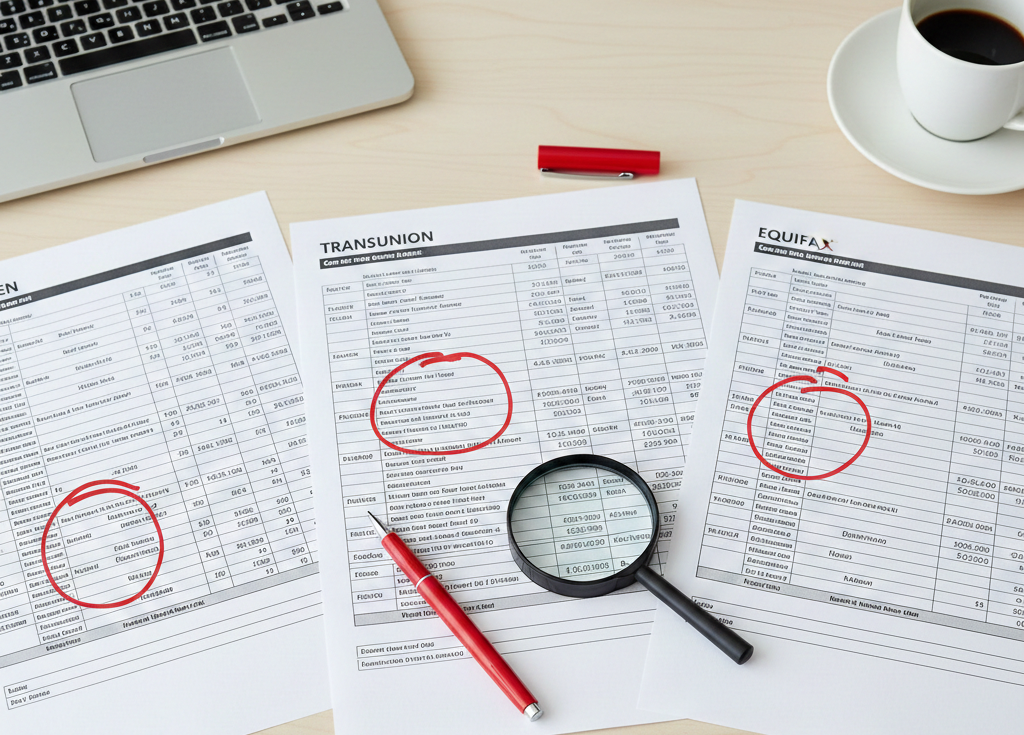
Always pull reports from all three bureaus for a complete and accurate diagnosis.

Your 7-Step Report Investigation Checklist

Step 1

Check Your Personal Information

Start with the basics: your name, addresses, and employers. Errors here can lead to someone else's accounts being mixed with yours.

  • Verify every name and address listed belongs to you.
  • Jot down any misspelled names or addresses you've never lived at.
  • **Action:** Fixing wrong personal info keeps other people’s accounts off your report.
Step 2

Review Your Credit Summary

This section gives you a quick snapshot: total accounts, total balances, available credit, and any past-due accounts.

  • See if the number of accounts and total balances line up with your records.
  • Check that the total balances line up with your own records.
  • Look for any past-due accounts you might have missed.
  • **Action:** This snapshot helps you spot problems fast, like high utilization (amounts owed).
Step 3

Go Through Your Trade Lines (Account Details)

This is the heart of your report. Every loan and credit card is listed with its creditor, limit, balance, open date, and crucial month-by-month payment history.

  • Highlight any accounts you do not recognize.
  • Check that limits, balances, and open/closed status are correct.
  • Look closely for late payments that shouldn't be there. Mistakes here hurt the most.
Step 4

Check Public Records and Collections

Bankruptcies, court judgments, and collection accounts show up here and can do real damage.

  • Make sure each record belongs to you and the dates/amounts are correct.
  • Watch out for the same debt popping up more than once under different collection agencies (double reporting).
  • **Action:** Anything outdated, incorrect, or double-listed should be written down for dispute.
Step 5

Go Over Inquiries (Hard vs. Soft)

Hard inquiries (when you apply for credit) can ding your score. Soft inquiries (like checking your own score) do not affect your score.

  • Check that every hard inquiry matches something you actually applied for.
  • Unrecognized hard inquiries could tip you off to identity theft.
  • Remember: multiple hard inquiries for one type of loan (mortgage/auto) in a short window usually count as one.
Step 6

Review Security/Alerts

Check for consumer statements (notes you added), fraud alerts, or security freezes. These steps help keep your credit safer while you work on repairs.

  • Ensure you still need any alerts or freezes you've set up.
  • If you spot anything suspicious elsewhere in your report, think about adding a fraud alert or freeze.
Step 7

Line Up Reports for Comparison

Lay all three reports side by side. It’s normal to see some differences, but those gaps are important.

  • Flag accounts that only show up on one or two reports.
  • Watch for mismatches in balances, credit limits, or payment statuses.
  • **Action:** These differences explain score variations and tell you which bureau you need to contact for dispute.

Finished Your Analysis? Time to Find Errors

You've pulled and analyzed your reports. Now, move to the final step in the Diagnosis phase: using a targeted checklist to identify the exact, legal errors that qualify for dispute and removal.

Go to Step 3: Error Checklist & Dispute Prep

Grab the Tools That Force Action

Don't wait for errors to disappear. Get the **Ultimate Dispute Letter Kit** to start challenging items immediately after finding them in your report.

Download FREE Dispute Templates